Hopefully as we get closer to Christmas, you may find some free time to spend with your young ones. Whether you have some holiday booked or only have the weekends and evenings free, these small projects are easy complete and should provide some enjoyment your family.
Project One: Easy Sugarpaste Icing
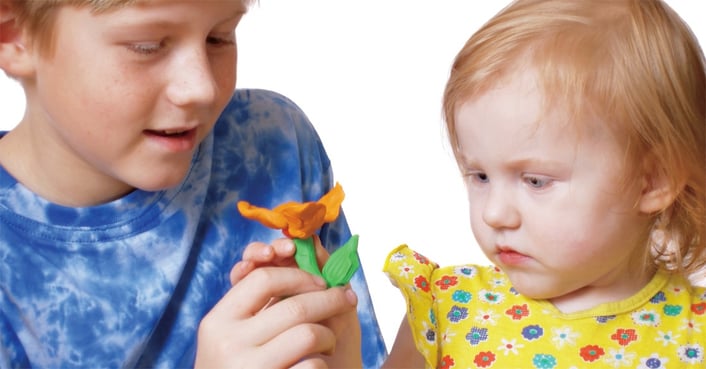
Making shapes with icing to decorate cakes isn't all that hard, but it can be tricky to master. Young ones will enjoy experimenting with different, abstract constructs - a bit like play dough. That said, before we get to it, here are some refresher tips for anyone that hasn't baked at home for a while:
Check sponge cakes are cooked by pressing the centre lightly with your fingertips, it should spring back easily. To test more thoroughly, insert a thin, warmed skewer into the deepest part of the centre. If the cake is cooked, it will come out perfectly clean with no mixture sticking to it. If you find there is some mixture left on the skewer, bake the cake for a little longer and test again.
Don't forget you can patch up mistakes easily. If your cakes are overcooked or burnt on the outside, simply scrape the marks away with a serrated knife and cover the surface with buttercream (yum!) - if the cakes are a little dry, sprinkle them with a few drops of sweet sherry or orange juice.
For anyone storing cakes, just be mindful of the slight differences between different cake types. Chocolate and Madeira cakes can be made ahead of time and will store well for up to 5 days before decorating. Just cover in fresh baking parchment, then wrap in foil and keep in a cool place, alternatively you can freeze them for up to 2 months. However, rich fruit cakes should be stored before cutting and need at least 1 month for the flavour to mature. You'll need to wrap them in their baking papers, then overwrap in clean baking parchment before adding a double layer of foil and sealing it with tape. Keep the cakes in a cool place until required.
Sugarpaste Icing (a.k.a. Fondant for Rolling or Modelling)
Makes 350 g/12 oz to cover a 20 cm/8 inch, round cake, or 12 small cakes, or use for decorations.
- 1 medium egg white
- 1 tbsp liquid glucose
- 350 g/12 oz icing sugar, sifted (plus extra for dusting)
Method:
- Place the egg white and liquid glucose in a large mixing bowl and stir together, breaking up the egg white.
- Add the icing sugar gradually, mixing in until the mixture binds together and forms a ball.
- Turn the ball of icing out onto a clean surface dusted with icing sugar and knead for 5 minutes until soft but firm enough to roll out.
- If the icing is too soft, knead in a little more icing sugar until the mixture is pliable.
- To colour, knead in paste food colouring. Do not use liquid food colouring, as this is not suitable and will make the sugarpaste limp.
- To use, roll out thinly on a clean surface dusted with icing sugar to a circle large enough to cover a cake, or cut out discs large enough to cover the top of cupcakes.
After you've made the icing, the rest is up to you! This is an easy recipe to make again if you want to experiment. It might take a bit of practice before you become experts, but no matter how it looks at least it will always taste nice! (Just don't eat too much icing, ok?)

Project 2: Mini Rocket
Our next project is high on fun, but we should warn you that any rocket-based activity comes with a degree of caution. As long as you're careful and oversee your young one's work, everything should be fine. This creative project is popular with children, who love seeing something they've made take to the sky!
How to Make the Rocket
What you will need:
- Scissors
- Plastic canister with lid – an old 35 mm
- Film cartridge case is ideal
- One sheet A4 paper, coloured if preferred
- Felt-tip pens or paint (optional)
- Sticky tape
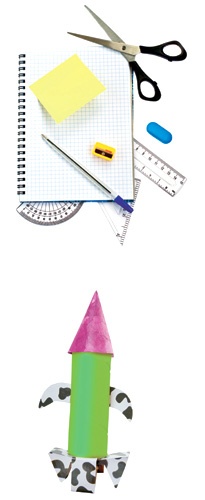
Your children can use their creative talents to make their desired rocket shape using the canister and the paper, by sticking paper ‘wings’ and ‘nose’ on it, for example. Make sure you do not make the rocket too heavy and also ensure your plastic canister has a removable lid. You can make the rocket well in advance of launching it, particularly if the children want to paint or colour their rocket. When you are ready to launch the rocket, it’s time to make the rocket fuel.
How to Make the Fuel
What you will need:
- 1⁄2 tsp bicarbonate of soda
- 1⁄2 tsp vinegar
- Tissue
You should not allow your bicarbonate of soda and vinegar to mix until you are ready to launch the rocket. But when you are ready, you can:
- Wrap your bicarbonate of soda in a tissue. Make a parcel that will easily fit inside the lid of your plastic canister.
- Fix the bicarbonate of soda parcel into the lid of the plastic canister with a little sticky tape. Alternatively, make a paste with the bicarbonate of soda and a little water and pack this into the lid.
- Pour the vinegar into your plastic canister.
- Carefully put the lid on to the canister, then turn the canister upside down so that the vinegar soaks through the tissue paper and mixes with the bicarbonate of soda.
Caution: Do be sure the children are supervised, are outside the house and wear some eye protection when you are launching your rocket.
When the bicarbonate of soda and the vinegar combine, they will make carbon dioxide gas. This gas will force the plastic canister to pop off the lid. Then the rocket will launch into the air, so stand back and enjoy!
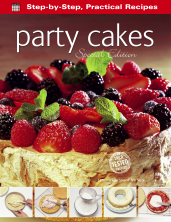
 Here at Flame Tree we make a wide range of titles full of information and projects that are perfect for an array of situations. If you want to learn more about cake decorating, why not browse our cookery range here? The rocket project in this blog actually came from our book Bicarbonate of Soda, which you can see here. It's packed with more than just projects though, coming with tips on cleaning, animal care and health. This applies to all of House and Home titles, such as Vinegar, which you can look at here.


