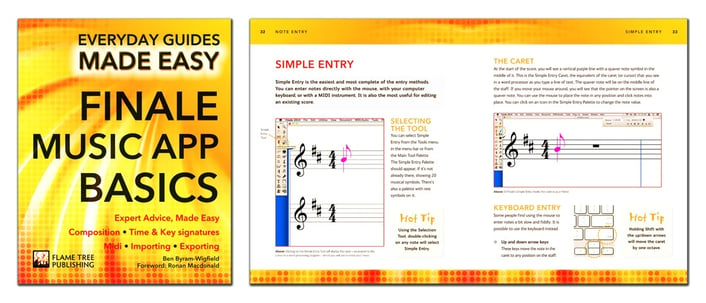
Finale is an amazing piece of software for anyone looking to write their own music, be it a pop song or classical score. However, complex pieces of kit such as this can be a little hard to get to grips with, especially for those eager to get stuck in and note their music. Our upcoming book Finale Music App: Everyday Guides Made Easy makes it simple for musicians at any level to use the software at a basic level, all the way up to advanced techniques.
Today's blog takes a look at a section from the middle of the book, where we explain how to edit your track after noting it down. Finale has some powerful editing techniques that can really save you time if you know how to use them, so we lay it out simply and clearly for users, putting the information alongside step-by-step images.
The Selection Tool
The main tool for editing in Finale is the Selection Tool. With this, you can highlight measures in your score and then manipulate them in various ways. You can cut, copy and paste. You can clear the contents. You can drag the contents of the selected region to other measures. You can perform a range of other functions on selected parts of the score.
-
Hot Tip: Double-clicking on various parts of the score will automatically change to the relevant tool.
Selecting Measures
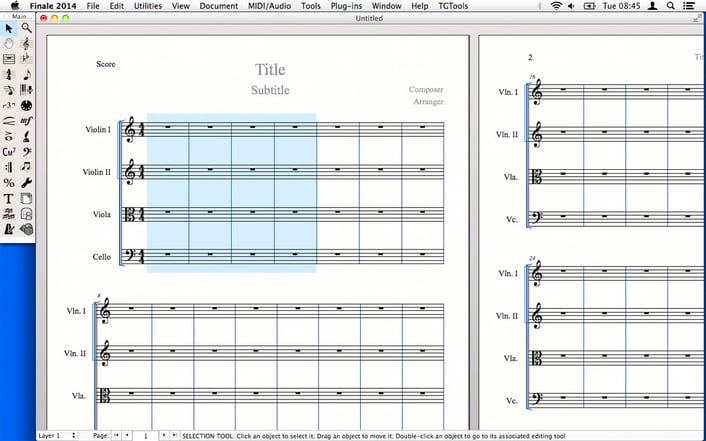
You can select measures (bars) in a number of ways. You can ‘drag a rectangle’ across an area and all the measures inside will be selected. In the same way, you can select fractions of a measure to the nearest beat or note. You can also click on a measure and Shift-click another measure, and all the measures in between will be selected.
Measure Stacks
If you select more than one staff, each staff is individually highlighted. If you select all the staves in one or more measures, then the highlighted area is continuous. This is known as a measure stack. There are differences in some behaviours between stacks and selections.
Paste Multiple
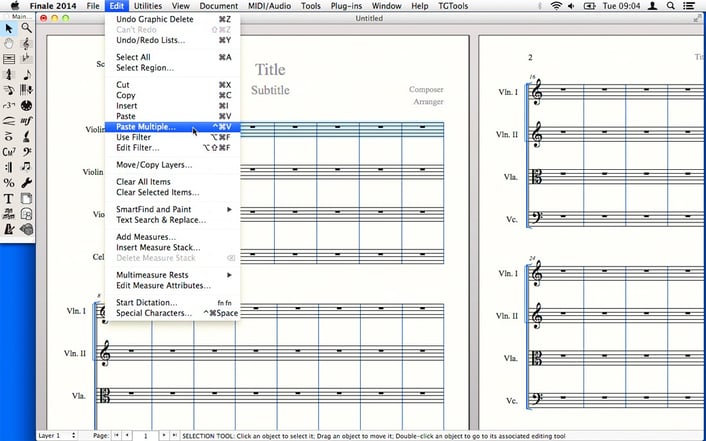
Finale has a feature that allows you to paste a selection repeatedly. This can be ‘horizontally’, repeating the selection along the staff, or ‘vertically’, repeating the selection into other staves. ‘Paste Multiple...’ is in the Edit menu, and in the contextual right-click menu.
Insert
Pasting a selection into your score will overwrite the existing measures with the music from your selection. An alternative to pasting is to insert the contents of the clipboard. This will create new measures at the current selection point, moving the existing music to the right.
Filtering a Selection
With the filter, you can paste some, but not all, of the notation from a region. Select the Edit menu > Edit Filter, and choose the items you want to copy. ‘Use Filter’ in the Edit menu will now be checked. Now, when you paste or drag a selection, only the chosen items are copied. You can use this to copy expressions, articulations and even lyrics to another staff, or just copy the notes without the other details. Uncheck ‘Use Filter’ when you want to paste everything again.
Contextual Menu
Using the Selection Tool, you can right-click on a measure to reveal a range of options. You can change the clef, key or time signature for the selected region. You can transpose the music, cut, copy or paste. The contextual menu is a very quick way of editing your score. Other tools will show different options in their contextual menus.
Changing Elements of Your Score
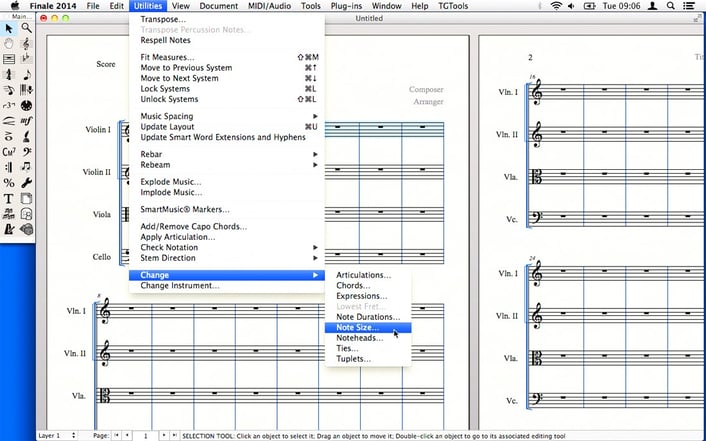
Under the Utilities menu, there are several functions that you can use on a selected region of your score. The most useful ones are in the Change sub-menu. Here, you can perform global changes to notes, articulations, expressions, chords, ties and tuplets. The Utilities menu also has options for adjusting the stem direction of your notes, changing the instrument name and audio sample on a staff, and transposing your music. Most of these are as simple as selecting a region, clicking on the menu and selecting options in a dialog.
Score Manager
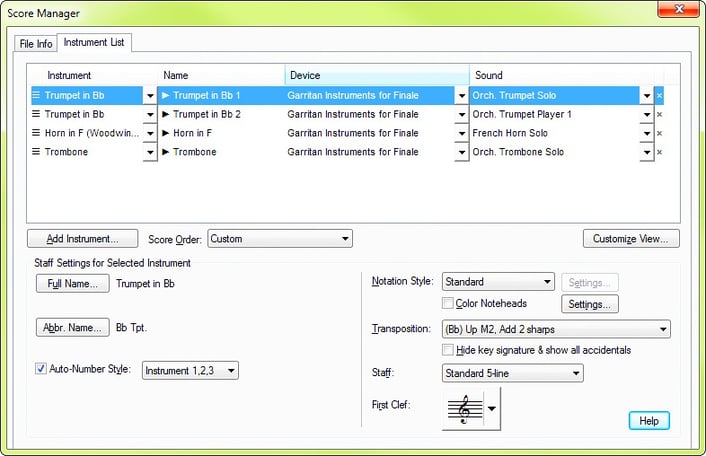
The Score Manager lets you control various aspects of the score. It can be accessed through the Window menu. Using the Score Manager, you can change a variety of characteristics of each staff, such as its name, the sound sample used, the clef, transposition and notation style. You can also add staves, change the order of the staves, or delete staves.
If you have more than one of the same type of instrument, then Finale can automatically number the instruments (e.g. Violin I, Violin II …), or you can turn off the numbering and give the instruments your own names. Full names are shown at the start of the piece, and abbreviated names used on every other system.
-
Hot Tip: You can also edit a text field directly within a text box after you’ve inserted it.
File Info
When creating a document using the Setup Wizard, there is a dialog for entering text fields, like the name of the composer, the title of the piece, the lyricist, copyright details and other information.
If you need to change or add to this information later on, you can use the File Info dialog of the Score Manager. All the same fields are shown here as in the Setup Wizard, and these text fields can then be added to text boxes using the Insert sub-menu in the Text Tool’s menu.
Document Options
Finale has a vast array of settings in the Document Options dialog, where you can specify distances between objects, sizes, positions, fonts and other parameters of your document. There are settings for the spacing between accidentals, the size and shape of augmentation dots, and the thickness of barlines. You can create your own clefs or modify the existing ones. You can specify all the fonts that you want to use for different types of notation element.
This article is based off more extensive text from our book Finale Music App: Everyday Guides Made Easy (ISBN 9781783613953). For clearer images and even more step-by step advice buy the book from our website, or if you'd prefer you can grab it from Amazon here.

