If there's one reason we love Apple products, it's because they market their products excellently. Their signature style is the timeless 'product on white', and though their approach has evolved over the years one of the most typical examples of this is the product in a white, slightly reflective room.
Today we're going to show you how to emulate this incredibly simple effect. It only takes a few minutes to make something that looks wholly professional.
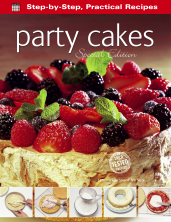
1) Firstly, duplicate the object you want to work on. This is just generally a good practice to get in to if you don't do it already, just in case you make irreversible changes to the image and don't want to have to find it again. Fittingly, we're using the front cover for our book, Adobe Photoshop: Made Easy.

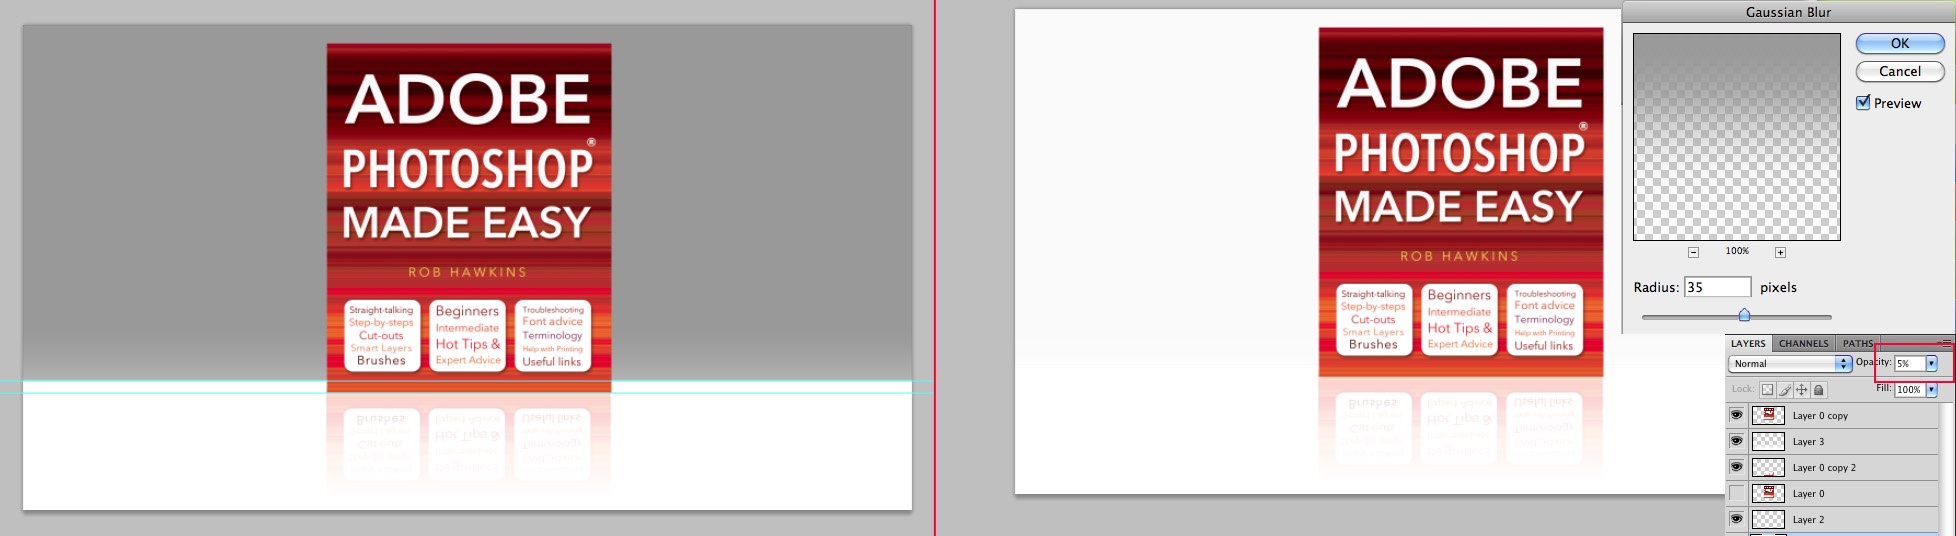
2) Then expand your canvas size to whatever you want and add a white background using the Shape tool (Shortcut: U). You'll notice I've put in some guides, too. You can do this by clicking the ruler and dragging onto your image; you can them toggle them by pressing cmd+H.
The two lines here represent the bottom edge of the product and the horizon line.

3) After this duplicate your object and then press cmd+T for the Transform tool. Just click the top of the selection and drag it down until your measurement bar at the top reads 100%. This just means your new image is the same size as the one you copied from, making the effect look more realistic. You won't need to move any other part of the image, as all we're simulating is a reflection going straight down.

4) Next we add a white gradient (Shortcut: G), making it seems as if the image is fading into the white room. Newer users must note the few different options available here. Simply check which type of gradient you have selected in the top left and choose the one that fades into chequered boxes. If you're not completely sure which one to select, click here for a more in-depth look at gradients. Once you're ready, start near the bottom of the canvas and go up to roughly the bottom line of the original image. I've included a shot of the gradient without the background to give you an idea of what it should look like.

5) Now, you'll need to manage your layers. Move the upside down image and the gradient underneath the original. This stops the gradient from effecting the original image. Once you're done, take the opacity of the upside down image way down. It will depend on how bright and saturated your image is, but for mine 15% worked best. Afterwards, your image and layers should look a little bit like the image below.

6) An optional final step is to add a back wall. The reason this isn't essential is because it's barely visible. In my opinion, no matter how subtle, this final step just helps your image look like it really might be in a white room.
Simply draw a grey box across the top of your image to no lower than the horizon line guide. Then blur it significantly so that the bottom line is not visible and it fades out smoothly. Then turn the opacity all the way down to just 5%. You may not think you can see it, but this small detail can help your image look more convincing.
After all that you might want to add some toungue-in-cheek text, I've also popped a little Apple style button on mine. But once you have the reflection sorted you're free to do as you please! This is a simple effect for creating a white room, whether you're promoting a product or doing something else entirely. Have fun!

If you're a beginner learning the ropes or an intermediate user of Adobe Photoshop looking to improve, our title Adobe Photoshop: Made Easy is full of helpful screenshots and insightful advice that will help you get the most out of this incredible piece of software. Take a closer look at the title here. To view it on Amazon, click here.
- For another free Photoshop tutorial on how to repair damaged images, click here.