 Now's the time to get out in your garden! Even if you haven't quite drummed up the energy yet to prepare for a summer harvest, there's still plenty of time to start planning your plot so that you can grow some tasty vegetables.
Today's blog will cover some useful advice on a handful of different methods for preparing your soil, from neat beds, trenches, or nothing at all! Once you've taken that on board there's also a recipe for a healthy salad for which you can grow most of the ingredients yourself!
Trench digging is one of the more traditional methods to prepare you garden's soil. Here are the first few steps you need to take:
- Clear and dig: Once you have removed all obvious weeds and plant roots, dig a trench roughly 25 cm (10 in) wide along the length of your bed.
- Layer: Put a 7–10 cm (3–4 in) layer of organic matter into the bottom of the trench.
- Dig and cover: Dig another trench parallel to the first one. As you are digging, put the soil you dig out of this second trench over the organic matter in the first trench.
- Layer: Put a 7–10 cm (3–4 in) layer of organic matter into the bottom of the second trench.
- Dig and cover: Dig another trench parallel to the first and second trenches and put the soil you dig out of this third trench over the organic matter in the second trench.
- Cover: Finish by using the soil dug out of the first trench to cover the organic matter in the final trench.
Alternatively, you might prefer the no-dig gardening approach. Some gardeners believe that digging damages the soil and increases nutrient loss, so the idea behind the ‘no-dig’ method is that instead of annual digging, you apply a thick layer of organic matter to the top of your soil and let the earthworms do everything! You will need a lot of compost or manure for the no-dig method as you spread thick layers of it on top of your soil.
Your third option is to make a raised bed. You should never walk on the soil of a raised bed, so you need to be able to reach easily into the centre from each side of the bed. This means that the maximum width of the bed will be about 90 cm (3 ft). It's essential to make sure that you leave enough room between beds to walk, kneel or move a wheelbarrow around. Ensure it drains well by putting a layer of sand and rock in the bottom.
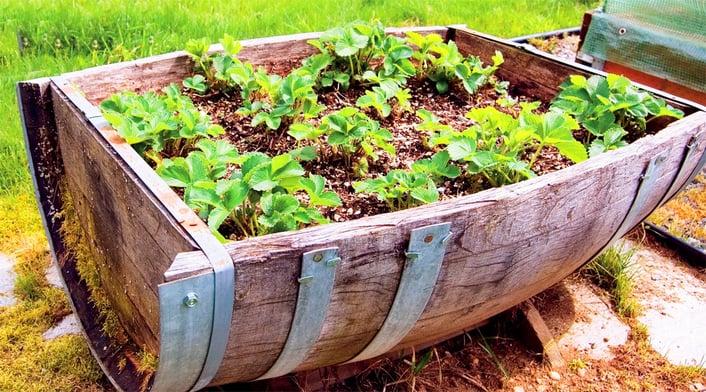
If you don't have the freedom to do any of the above, containers provide a lot of flexibility for those with small gardens, awkward spaces, or who want to nurture crops without owning a garden.

- Top Tip: Try Freecycle for some free containers of all shapes and sizes. You are more likely to strike lucky if you ask ‘out of season’.
There's a variety of choice when it comes to you buying you containers. Plastic pots are the cheapest to buy. They can be bought from virtually anywhere and won't break the bank. However, they are not great for the environment plus they can be prone to breaking easily; even if you can avoid damaging the pots be mindful that they do disintegrate over several years. Clay or terracotta pots are inexpensive, robust enough to stand a wind but not too heavy to move. They also keep soil warmer than wooden containers and don’t need any maintenance. However be aware that unglazed pots will need more watering than those made of other materials because they are porous.
If you want to invest a bit more in your garden, you may prefer stone pots. These are much heavier than terracotta, so once you have put them in place and filled them with soil they are there to stay! Wooden containers are sometimes the preferred decorative option for gradeners. You can either purchase these or make your own from offcuts of wood, which can help keep your budget down. It's worth noting though, that you will need to choose seasoned wood to stop the container swelling up and warping when wet and they will need maintenance to prevent them going rotten. Or how about a hanging basket? There's a wide variety of sizes and shapes, but be aware that these can be a little harder to maintain as they dry out quickly due to their shallow structure.
Regardless of what container you choose, don't be afraid to stay creative. Almost any object can be an interesting container and decoration for your gardening space - the only thing you might want to check it that the material will not have a harmful effect on your soil.
Once you've got going you'll be able to start growing your own vegetables. Here is a tasty recipe for a healthy salad to whet your appetite...
 Carrot, Celeriac v Sesame Seed Salad
- 225 g/8 oz celeriac
- 225 g/8 oz carrots, peeled
- 50 g/2 oz seedless raisins
- 2 tbsp sesame seeds
- Freshly chopped parsley, to garnish
- For the lemon & chilli dressing: grated zest of 1 lemon 4 tbsp lemon juice 2 tbsp sunflower oil 2 tbsp clear honey 1 red bird’s-eye chilli, deseeded and finely chopped salt and freshly ground black pepper
Serves 6
- Slice the celeriac into thin matchsticks. Place in a small saucepan of boiling salted water and boil for 2 minutes.
- Drain and rinse the celeriac in cold water and place in a mixing bowl.
- Finely grate the carrot. Add the carrot and the raisins to the celeriac in the bowl.
- Place the sesame seeds under a hot grill, or dry-fry in a frying pan, for 1–2 minutes until golden brown, then leave to cool.
- Make the dressing by whisking together the lemon zest, lemon juice, oil, honey, chilli and seasoning, or by shaking thoroughly in a screw-top jar.
- Pour 2 tablespoons of the dressing over the salad and toss well. Turn into a serving dish and sprinkle over the toasted sesame seeds and chopped parsley. Serve the remaining dressing separately.

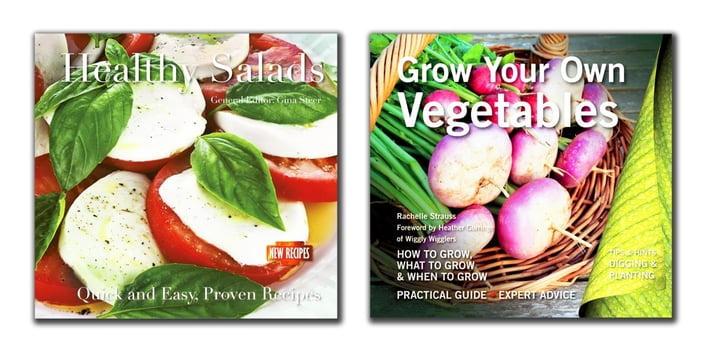
This article uses some of the expert advice in our Digging & Planting title, Grow Your Own Vegetables, as well as a recipe from our popular cookery book, Healthy Salads. Just click on the titles to learn more!
Links:
- If you're still in the planning stages for your garden, this article may be useful.
- Check out another healthy recipe here.
- Need more convincing? Have a look at some reasons to start growing your own vegetables here.


